Buying a cardboard cutting machine is a decision about how fast and how flexibly you can turn a design into a finished, foldable box. Specs that look alike on paper behave very differently on real corrugated, chipboard and foam board. The wrong choice shows up as slow sampling, weak creases, or a machine that stalls on your heaviest board. This guide walks through the factors that actually decide the purchase — from cut-and-crease capability to a pre-order test — so you buy the machine your packaging work needs.
What to Prioritize — the Short Version
For most packaging producers, prioritize a die-less machine that cuts and creases in one pass, sized to your largest board, with nesting software and a CCD camera. That combination covers the three things that drive value: speed to sample, board yield and fold-ready output.
Everything else — extra tools, feed systems, support — matters, but in service of those three. A machine that turns a file into a creased blank quickly, wastes little board, and cuts your full material range will pay back fast. The factors below are ordered the way an experienced buyer weighs them.
Get those three right and the machine earns back its cost through faster sampling and less wasted board. The rest of the specification is about how smoothly it fits your specific work — the materials you run, the volumes you handle, and the software your team already uses.
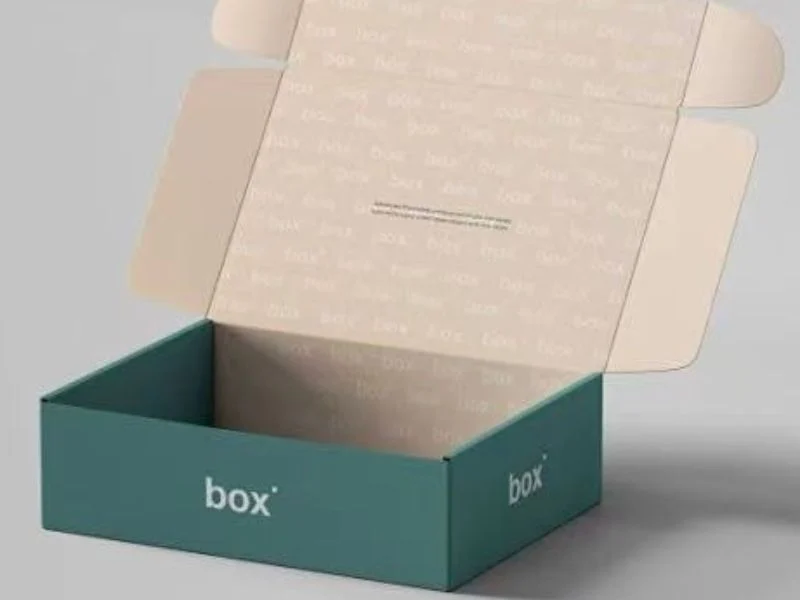
1. Cut-and-Crease in One Pass
The first thing to confirm is that the machine both cuts and creases from one file — a box blank needs fold lines as well as cut lines. A cutter that only cuts leaves you creasing separately, which defeats the point of a digital workflow.
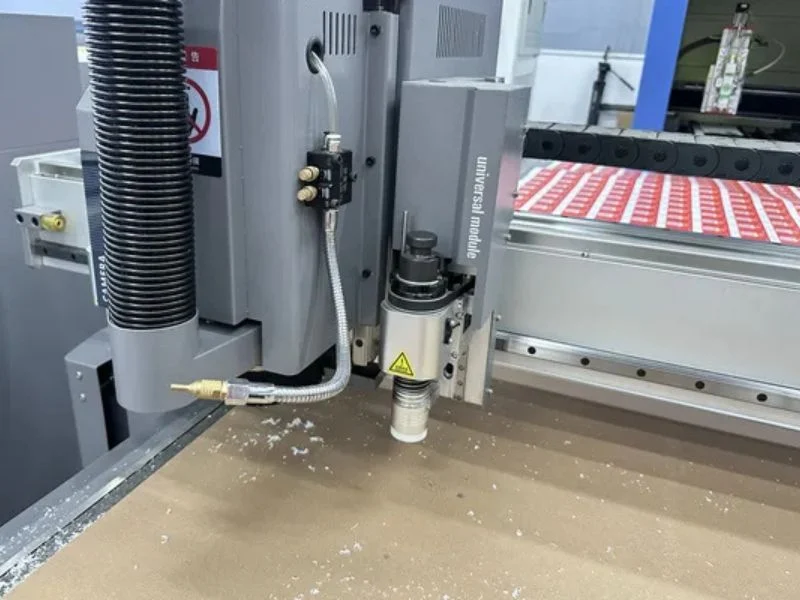
A proper cardboard machine carries a creasing wheel alongside the oscillating knife, so it scores the fold lines and cuts the outline in a single setup. The blank comes off the table ready to fold, not as loose pieces to assemble or crease by hand.
Confirm the crease depth is adjustable in software, because corrugated, folding boxboard and heavy chipboard each need a different score to fold cleanly without cracking. That control is what separates a real packaging machine from a general cutter.
Ask to see the machine crease your actual board, not a demo sheet. A crease that folds cleanly on thin boxboard can crack heavy corrugated, so seeing your own material scored and folded is the only way to confirm the machine handles your range.
2. Working Size and Throughput
Size the table to your largest sheet and your daily volume — not to the smallest machine that fits the budget. A bed too small forces tiling and re-registration, which costs more time than the machine saved.
A 2500×1600 mm bed suits full sheets and batch work; a compact bed fits sampling and small parts. Leave room around the machine for loading, feeding and stacking finished blanks.
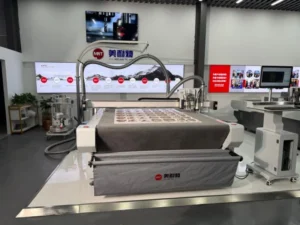
For continuous output, a belt auto-feed conveyor lets a large machine run roll or sheet material without an operator repositioning every piece. If your volume is steady and high, that feed system is often worth more than a marginally faster cutting speed.
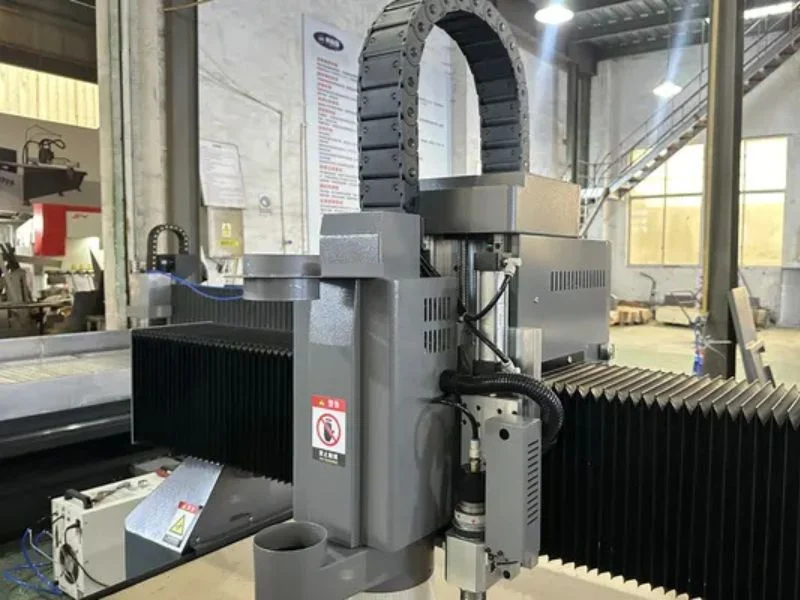
3. Board Types You Cut
Match the tools and depth to your heaviest and most varied board — corrugated, chipboard, honeycomb and foam each behave differently. The machine must handle your worst case, not your average job.
Thin folding boxboard cuts and creases easily; double- or triple-wall corrugated needs more knife travel and careful creasing; honeycomb and foam board are thick and demand enough tool depth and a stable vacuum hold-down. Confirm the machine’s tool depth against your thickest material.
If your work spans light cartons to rigid display board, look for interchangeable tools and adjustable depth so one platform covers the range instead of forcing a second machine for the outliers.
4. Tool Head: Knife, Crease, V-Cut and Kiss-Cut
A versatile tool head — oscillating knife, creasing wheel, V-cut and kiss-cut — lets one machine handle boxes, displays and part-depth cuts. The more tools it carries, the more packaging work it covers without extra equipment.
The oscillating knife cuts outlines and interior shapes; the creasing wheel scores folds; a V-cut tool bevels thick board for clean folding corners on displays and rigid boxes; kiss-cut controls depth for labels and windows. Together they cover most carton and display jobs.
Check how quickly the head changes or combines tools, because setup time between operations affects real throughput on mixed work. A well-designed multi-tool head keeps a varied job list moving without constant manual changes.
Think about the jobs you run most. If most of your work is folding cartons, prioritize a strong knife-and-crease combination; if you also make rigid boxes and displays, a V-cut tool becomes important; if you do labels or windows, kiss-cut matters. Match the tool set to your product mix.
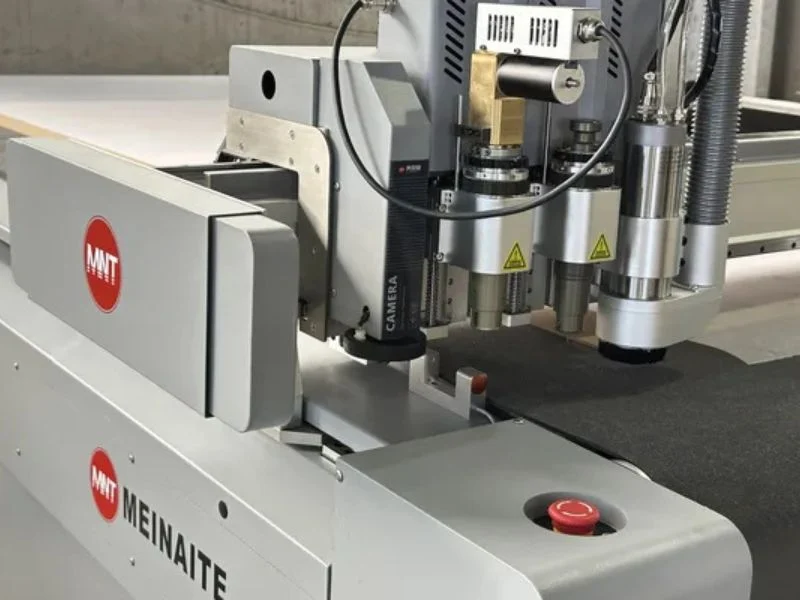
5. Software, Nesting and CCD Vision
Nesting software and a CCD camera pay for themselves in board yield and print-to-cut accuracy. On volume packaging, the material and alignment savings quickly exceed their cost.
Nesting arranges box blanks to fit more of them onto each sheet, cutting waste on every run. A CCD vision camera follows printed marks so pre-printed cartons are cut exactly to the artwork — essential for print-and-cut packaging where the cut must register to the print.
Also confirm the software accepts standard files — HPGL, PLT, DXF — and works with common packaging CAD, so designs flow to the machine without redrawing. Good software keeps the cutter fed and the operator cutting rather than converting files.
Integration matters as much as any feature list. A machine whose software talks to the packaging design tools your team already uses — and drives the cutter without extra conversion steps — removes friction from every job. Weigh that workflow fit as heavily as raw cutting capability, because it is what your operators live with daily and what keeps the machine producing rather than waiting on file preparation between jobs.
6. Test Before You Buy
Always send your real board for a cutting and creasing test before ordering — it is the only reliable way to confirm edge, fold and speed. A spec sheet cannot tell you how your specific board folds.
A proper test shows the cut edge, whether creases fold cleanly without cracking, the actual speed on your material, and whether the blank is truly production-ready. It also reveals how the supplier handles your requirements before any money changes hands.
Send your heaviest and your most common board, and ask for the cut samples back. Folding a real blank in your own hands removes the guesswork from a purchase you will run for years.
A test also protects your delivery promises. Confirming that the tenth blank creases like the first, on your board, gives you the confidence to quote lead times and quality to your own customers without hedging.
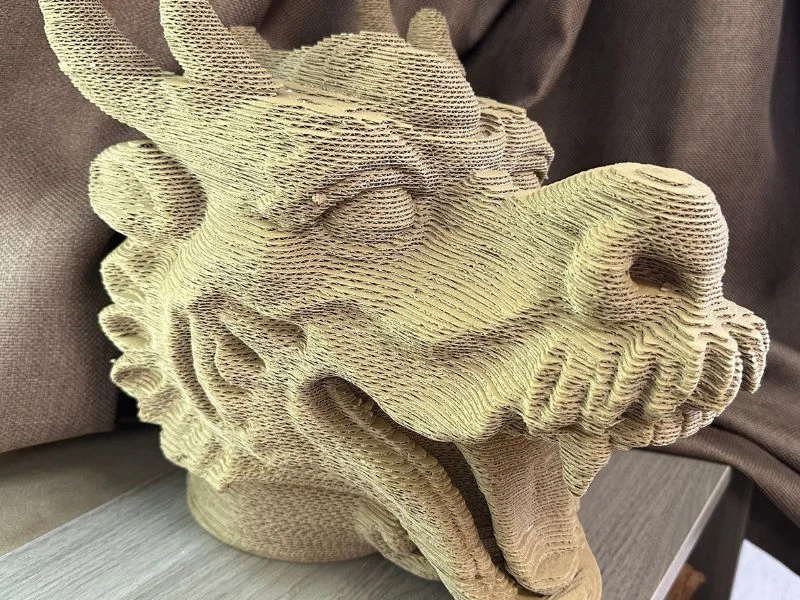
Cardboard Machine Types at a Glance
The table below summarizes how the main options compare for packaging work.
| Machine type | Best for | Limitation |
|---|---|---|
| Manual / hand tools | One-off prototypes | Slow, inconsistent creases |
| Traditional die-cutting | Mass runs of one design | Steel die cost and lead time |
| Die-less digital cutter | Samples, short runs, high-mix | Slower per piece at mass volume |
Bottom Line
For packaging work, a die-less cut-and-crease machine sized to your board, with nesting and CCD vision, is the safe default. It turns designs into fold-ready blanks fast, covers your material range, and keeps board waste low.
Prioritize in that order — cut-and-crease, size, board range, tools, software, then a real test — and you will spec the machine your packaging line actually needs. See the full specification and material range on our cardboard cutting machine.
FAQ
Does a cardboard cutting machine crease as well as cut?
A proper one does. A creasing wheel scores the fold lines and the oscillating knife cuts the outline from the same file in one pass, so the blank comes off ready to fold. Crease depth is adjustable in software per board type.
What board thickness and types can it handle?
Corrugated (single to triple wall), chipboard, grey board, honeycomb and foam/KT board, up to around 50 mm on rigid material with the right tool. Confirm tool depth against your thickest board.
Do I need a die to cut cardboard on it?
No. It is a die-less digital cutter — it cuts and creases straight from your design file, so there is no steel die to make. You can produce a first sample the same day you finish the design.
What working size should I choose?
Size the bed to your largest sheet and daily volume. A 2500×1600 mm bed suits full sheets and batches; a compact bed fits sampling. Add belt auto-feed for continuous, high-volume output.
Should I test my board before buying?
Always. A cutting and creasing test on your real board confirms the cut edge, clean folds, speed and how the supplier handles your requirements — before you commit.